
A practical route from workpiece shape and removal target to grit, product form and trial validation.
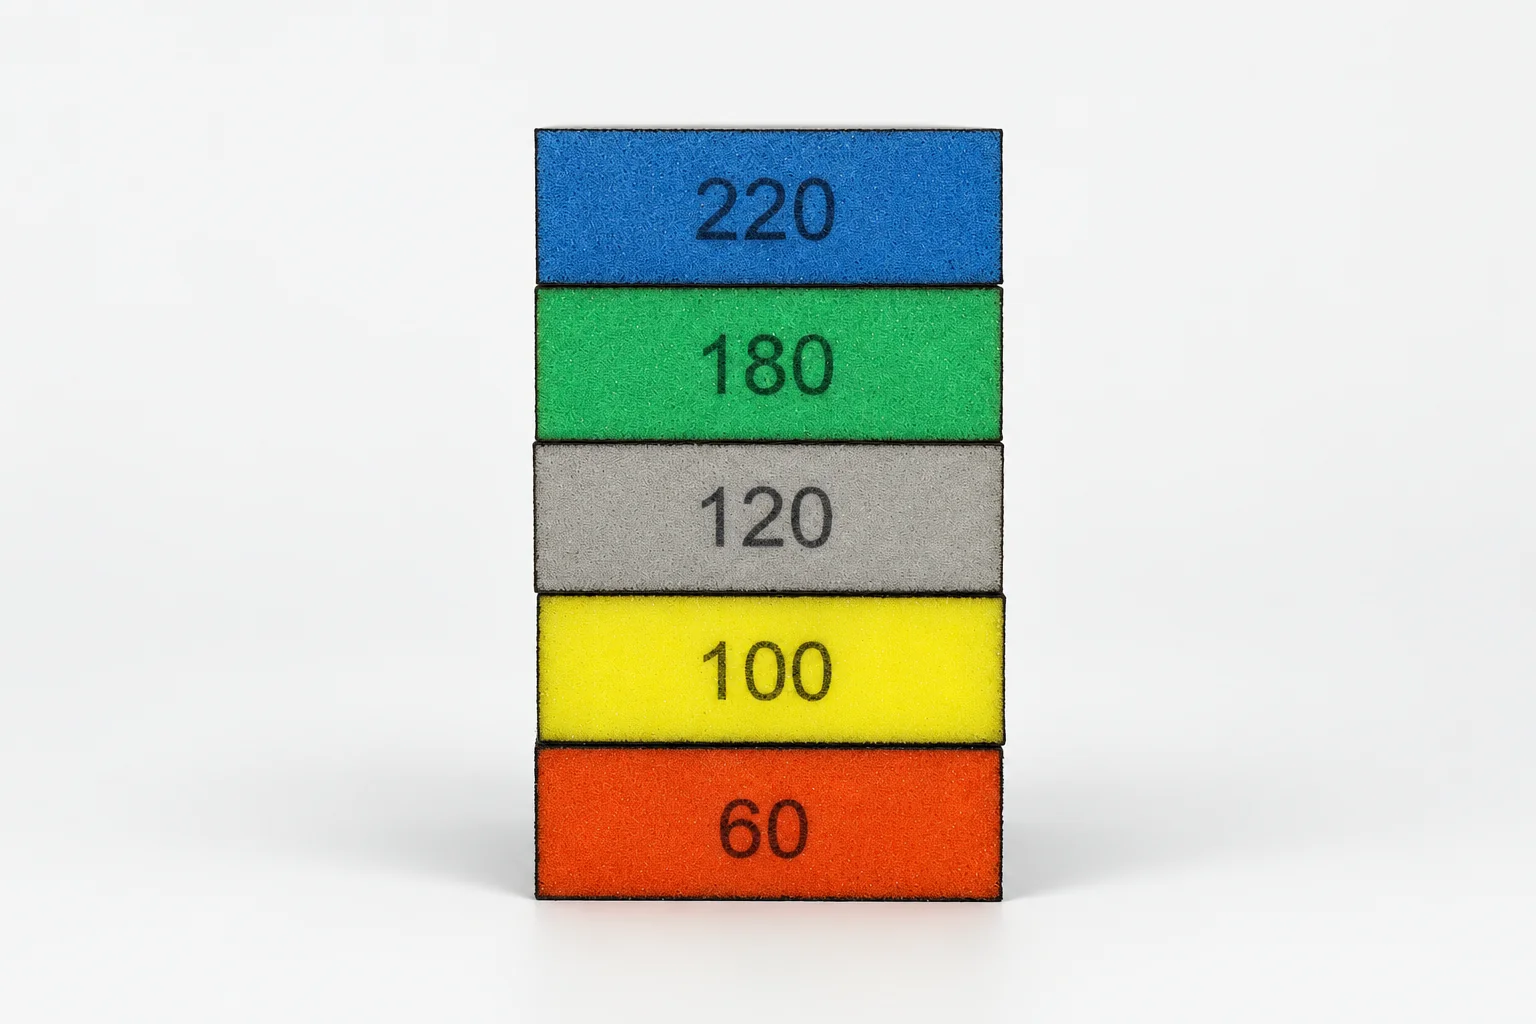
Sponge abrasives are useful when controlled contact with a curve, rounded edge or recessed area matters more than rapid stock removal. The flexible backing follows the workpiece and spreads hand pressure, but that same flexibility makes it the wrong starting point for heavy weld removal or for establishing a flat reference surface.
Start with the task, not the grit number
First define the substrate, geometry, existing defect and target surface. Then decide whether the process needs material removal, scratch refinement or surface conditioning. Grit alone cannot establish suitability: backing, abrasive mineral, product form, wet or dry use, pressure and the next finishing step all affect the result.
Where sponge abrasives fit
- Wood and coated furniture: hand sanding on profiles, edges and between-coat defects where a rigid sheet may not contact evenly.
- Metal contours: controlled deburring, rust removal or scratch refinement on curved and hard-to-reach areas, within the limits of the selected model.
- Painted and composite parts: localized refinement where loading, edge protection and the following polishing step must be considered together.
- Machine-assisted contour sanding: hook-and-loop sponge discs can be considered when the disc, backing pad, attachment and required grit are compatible.
Choose the form before the exact grade
For manual contour work, compare the standard GN-SA-BK70, the shaped GN-SA-BK80 and the double-sided GN-SA-DS120. For a machine with hook-and-loop attachment, compare GN-SA-HS70A and GN-SA-HS70B against the backing pad and required finish. For cut-to-length work, GN-SA-RL70 is a pre-cut roll format. Each model has its own documented mineral, backing, grit range and use conditions.
Build a grit sequence
Select the starting grit against the actual defect and choose the next step before the first pass. Do not make a large jump until the previous scratch pattern has been removed. Inspect between stages under consistent lighting. Wet or dry capability must be confirmed for the specific model; where wet use is documented, keep the workpiece and abrasive clean and allow for the required drying and cleaning steps.
Choose another construction when
- High stock removal is required: begin with an abrasive disc or another product designed for the load.
- A flat reference surface is required: use a rigid support that will not follow existing waves in the workpiece.
- The objective is surface conditioning: compare the non-woven series when the aim is blending or texture rather than defined-grit cutting.
- The area is a large, open flat surface: a supported machine format may provide more consistent contact and throughput.
Validate before production
Run the proposed sequence on a representative workpiece. Record the product model, grit sequence, wet or dry method, pressure or machine settings, cleaning steps and acceptance result. Removal rate, finish, loading behaviour and service life depend on the actual application and should not be inferred from the grit range alone.